github.com/loy124/node-express-tdd
loy124/node-express-tdd
express에서 jest와 supertest를 활용한 단위 테스트및 통합 테스트 . Contribute to loy124/node-express-tdd development by creating an account on GitHub.
github.com
Test Driven Development
테스트 주도 개발은 매우 짧은 개발 사이클을 반복하는 소프트웨어 개발 프로세스 중 하나이다. 개발자는 먼저 요구사항을 검증하는 자동화된 테스트 케이스를 작성한다. 그런 후에, 그 테스트 케이스를 통과하기 위한 최소한의 코드를 생성한다
장점
1. 코드의 모듈화
코드를 작성할 때 코드가 방대해지지 않고 모듈화가 이루어진다.
따라서 리팩토링이 쉬워진다.
2. 디버깅 시간을 단축
구현한 기능이 요구사항을 충족하는지, 버그에 대한 낭비 시간도 줄여준다.
먼저 Node + MongoDB의 조합으로 코드를 작성할 예정이다.
해당 글에는 TEST를 위한 준비 단계를 작성합니다.
Node 기본 구축하기
먼저 package.json을 작성한다.
npm init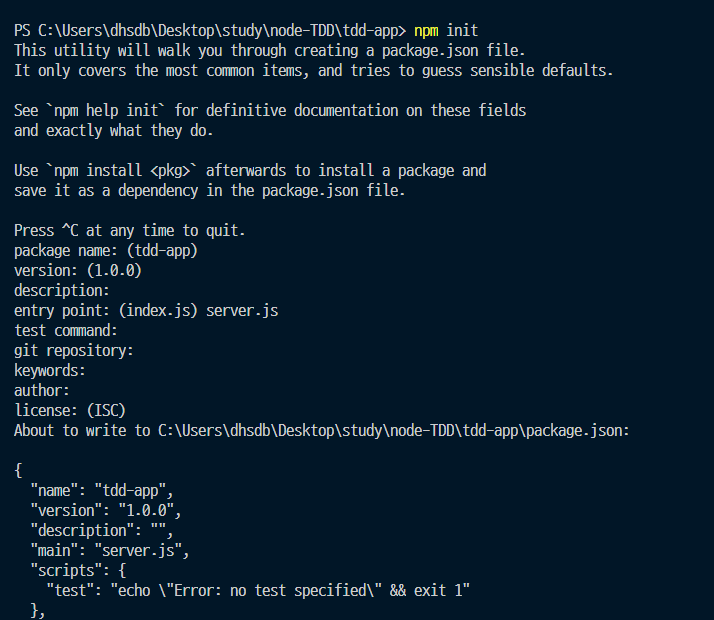
package를 작성하였다면
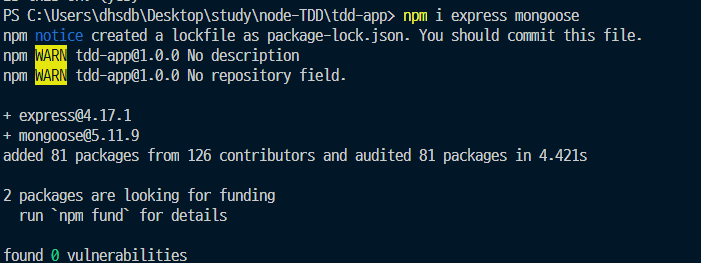
이제 express와 mongoose를 다운받아준다.
npm i express mongoose
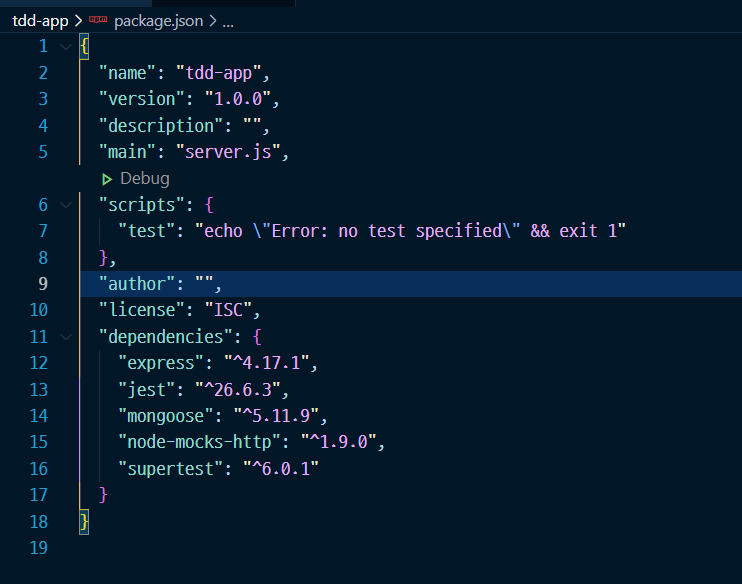
이제 테스트를 위한 모듈들을 받아준다
npm i jest node-mocks-http supertest -dev
모듈 정리
jest: 단위 테스트를 위한 모듈
node-mocks-http: 단위 테스트를 위한 모듈
supertest: 통합 테스트를 위한 모듈
const express = require('express');

const PORT = 8080;
const HOST = '0.0.0.0';

const app = express();
app.get('/', (req, res) => {
    res.send('Hello World');
})

app.listen(PORT, HOST, () => {console.log(`this server listening on ${PORT}`)});
이제 코드 구조를 잡을 차례이다
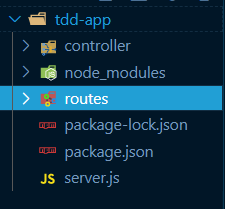
routes 폴더에는 요청이 들어 오는 경우의 router들을 정의해주고
controller 폴더에는 해당 routes에 요청이 들어왔을때 실행하는 함수들을 정의해준다.
routes 폴더에서 index.js는 각각의 라우터들을 한군데에 모아서 담아놓는 역할을 한다.
products.js etc.js.. 등등 모든 routes내 폴더에서 정의 된 라우터들은 index.js를 통해 한군데 모인다.
먼저 products.js를 생성해준다.
products.js
const express = require('express');
const router = express.Router();
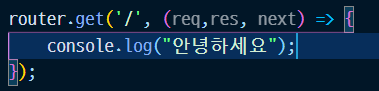
router.get('/', (req, res, next) => {
console.log("안녕하세요");
});
module.exports = router;
이렇게 해당 produdcts에는 req,res,next로 되어있는 함수가 존재한다.
이 로직들을 컨트롤러 폴더를 생성해서 분리해주면 된다.

contoller/products.js
const hello = (req, res) => {
    res.send("안녕하세요");
}

module.exports = {hello}
해당 로직을 분리해서 exports 해주고
products.js에서 해당 exports를 받아와서 넣어준다.
products.js
const express = require('express');
const router = express.Router();
const {hello} = require("../controller/products")


router.get('/', hello);

module.exports = router;
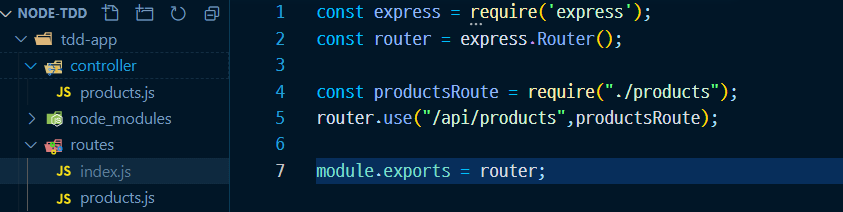
이렇게 분리가 완료되었으니 이를 담아주는 index.js를 생성해준다.
index.js
const express = require('express');
const router = express.Router();

const productsRoute = require("./products");

router.use("/api/products",productsRoute);


module.exports = router;
위와같이 변경하였으면
node server.js서버를 기동해서 테스트를 진행해본다.
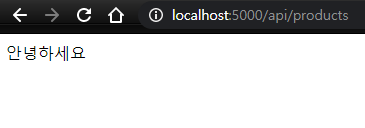
여기까지 기본 구조 잡기가 완료되었다.
MongoDB 클러스터 생성하기
loy124.tistory.com/243?category=791817
express mongodb 활용하기 - mongodb altas 가입및 셋팅하기
https://www.mongodb.com/ The most popular database for modern apps We're the creators of MongoDB, the most popular database for modern apps, and MongoDB Atlas, the global cloud database on AWS, Azur..
loy124.tistory.com
클러스터 생성하는 법은 위 글에 정리해 두었다.
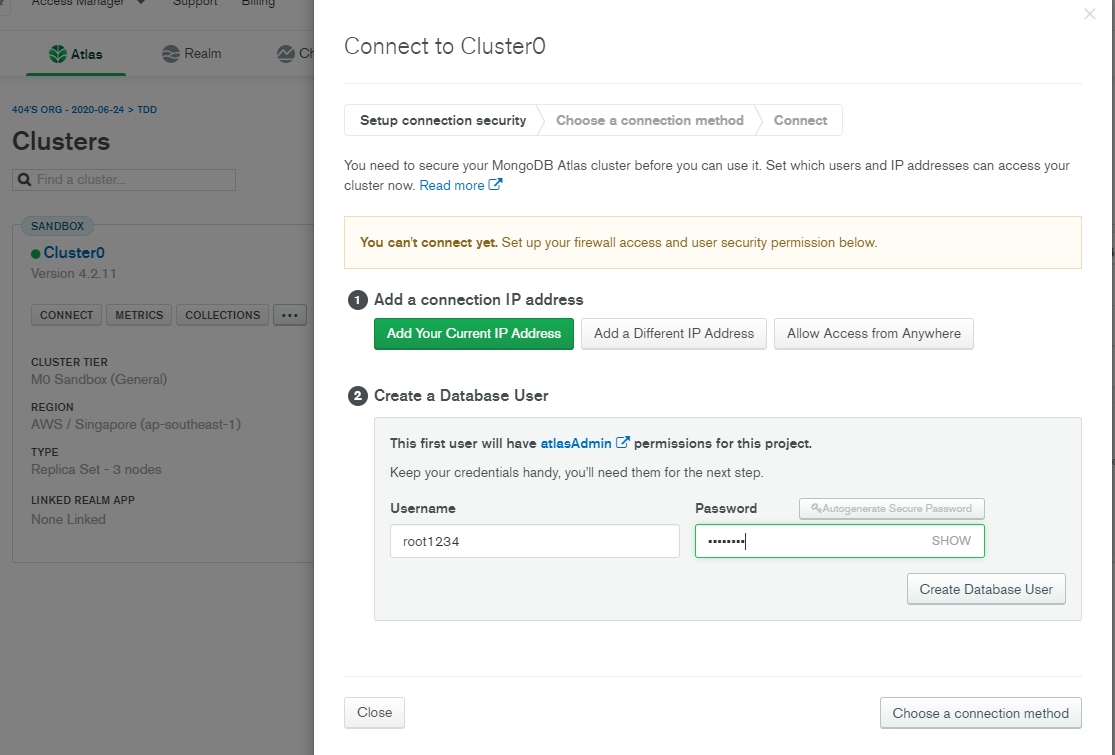
아이디와 비밀번호는 root1234 root1234로해주었다.
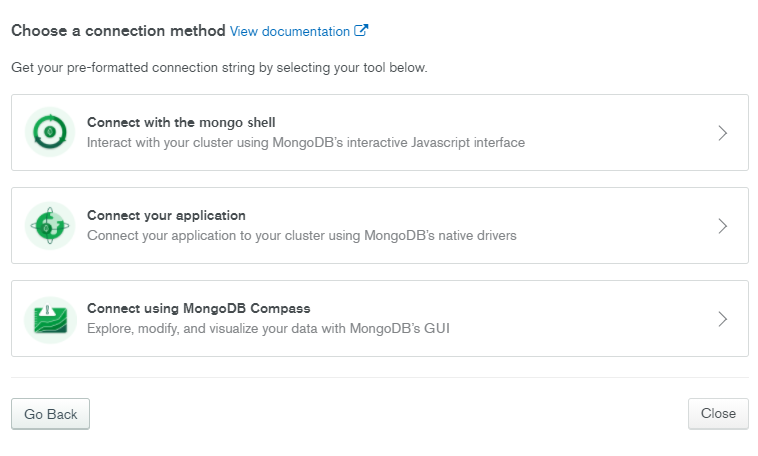
connect your application을 눌러
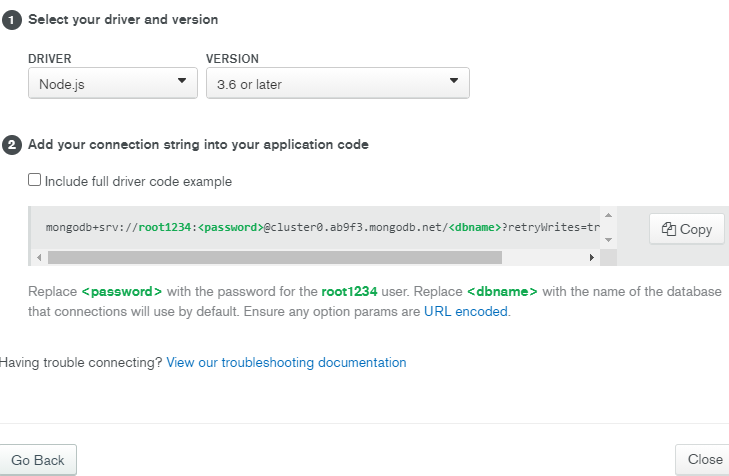
위의 코드를 copy해준다.
이제 node에서 mongoose 를 다운받아준다.
mongoose는 mongodb와 쉽게 연결을 할수 있게 도와주는 라이브러리이다.
Mongoose ODM v5.11.9
Let's face it, writing MongoDB validation, casting and business logic boilerplate is a drag. That's why we wrote Mongoose. const mongoose = require('mongoose'); mongoose.connect('mongodb://localhost:27017/test', {useNewUrlParser: true, useUnifiedTopology:
mongoosejs.com
npm i mongoose
Copy해준 code를 connect부분에 넣어주고
비밀번호및 dbname을 넣어준다.
const express = require("express");
const PORT = 5000;
const app = express();
const routes = require("./routes");
const mongoose = require("mongoose");
app.use(express.json());

mongoose
  .connect(
    "mongodb+srv://root1234:root1234@cluster0.ab9f3.mongodb.net/tdd?retryWrites=true&w=majority",
    {
      // 경고 문구 방지
      useNewUrlParser: true,
      useUnifiedTopology: true
    }
  )
  .then(() => console.log("Mongo DB Connected"))
  .catch((err) => console.log(err));
// 해당 요청이 오면 routes/index.js로 보내준다.
app.use("/", routes);

app.listen(PORT, () => {
  console.log(`this server listening on ${PORT}`);
});
서버를 기동해보면

DB가 연결된것을 확인 할 수 있다.
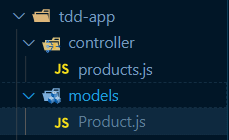
이제 mongoDB의 스키마 설정을 위해
models 폴더와 Product.js 파일을 생성해준다.
const mongoose = require("mongoose");

const productSchema = new mongoose.Schema({
  name: {
    type: String,
  },
  description: {
    type: String,
    required: true,
  },
  price: {
    type: Number,
  },
});

const Product = mongoose.model("Product",productSchema);

module.exports = Product;
여기까지 구성하면 기초 Node + MongoDB 구성이 완료된다.
아래 글에서 이어집니다.
TDD - Node 로 TTD하기 2 (단위테스트와 통합테스트)
loy124.tistory.com/363 TDD - Node 로 TTD하기 1(개발 준비) Test Driven Development 테스트 주도 개발은 매우 짧은 개발 사이클을 반복하는 소프트웨어 개발 프로세스 중 하나이다. 개발자는 먼저 요구사항을..
loy124.tistory.com
위 글은
해당 강의를 듣고 정리 한 글입니다.
'Node.js > node tdd(test driven development)' 카테고리의 다른 글
| TDD - Node 로 TTD하기 2 (단위테스트와 통합테스트) (0) | 2021.01.09 |
|---|
